The Communication Chain: From Confirmation to Review Request
Most service-business customer experiences come down to a handful of moments: the moment they book, the night before the visit, the morning of, the moment the work's done, and a day or two later when they're deciding whether you earned the next call. Each of those moments is a chance to either reassure the customer or make them anxious — and the difference is almost always whether the right message arrived at the right time.
Suprata's communication chain is the set of automatic messages that go out across an appointment's life. The defaults are intentionally cautious — you should be able to turn them on and not embarrass yourself. But "cautious defaults" and "great customer experience" aren't the same thing. The point of this article is to walk the full chain so you understand which message fires when, what it does, and where to spend the half-hour to make each one sound like you instead of like a system.
When you'd use this
Read this if you're:
- Setting up a new account and trying to decide which automatic messages to turn on.
- Getting customer complaints about "too many texts" or "I never got the reminder."
- Configuring the review-request step and want to know how it ties into job completion.
- Reviewing your messages for tone — the defaults are functional, but they read as generic.
- Trying to decide what should be an in-app notification, what should be an email, and what should be a text.
The chain at a glance
T-N days  T-1     T-0       T+0        T+15min      T+24-72h
  |       |        |         |             |             |
  v       v        v         v             v             v
+----+  +-----+ +-------+ +-------+   +--------+   +---------+
|Conf|  |Remi |  |Tech  | |Invoice|  |Receipt |  |Review   |
|+SMS|  |nder | |on way| |email  |  |email   |  |request  |
+----+  +-----+  +------+ +-------+  +--------+  +---------+
  |       |        |         |          |            |
Booking  Day     Day of    Job       Payment     Window after
made     before  visit     complete  received    completion
Six messages along the timeline. Each is configurable; each has a default; each has a "common reasons it goes wrong" entry below.
Step 1: Appointment scheduled — confirmation email + SMS
The first message goes out the moment the appointment is booked, regardless of who booked it (customer through a portal, dispatcher through the office, tech in the field). Two channels, both opt-in:
- Confirmation email with the appointment date/time, address, services, contact phone, and (if applicable) a link to view or change the appointment.
- Confirmation SMS with a shorter version — date/time and a link.
The two are belt-and-suspenders by design. Some customers don't read email; some don't read texts. You want the news to reach them either way.
The defaults work, but they sound like a computer wrote them. The half-hour you spend rewriting this template is one of the highest-payoff edits you can make. Two things to do:
- Replace the generic salutation. "Dear Customer" is a tell. Use the merge token for the customer's name, or skip the salutation entirely and lead with the appointment time.
- Add a sentence about what to expect. "Our tech will arrive in a clearly marked van and will call you 15 minutes before arrival." Sets expectations and reduces no-shows.
Step 2: Day before — reminder SMS
The day before the appointment, a reminder SMS goes out. Email is not part of this step by default, and that's deliberate: the day-before message is short and time-sensitive, which is exactly what text is for. An email at this point just adds clutter.
The reminder is the simplest tool you have for reducing no-shows. A customer who got a text the night before is much less likely to forget than a customer who only saw a confirmation a week earlier. Don't disable it unless your customers explicitly object.
What the reminder should say:
- The appointment date/time.
- A way to confirm or reschedule (a "reply Y to confirm" or a link).
- Your phone number, so they can call if needed.
What it shouldn't say: anything else. The reminder is a one-purpose message; pile more in and customers stop reading.
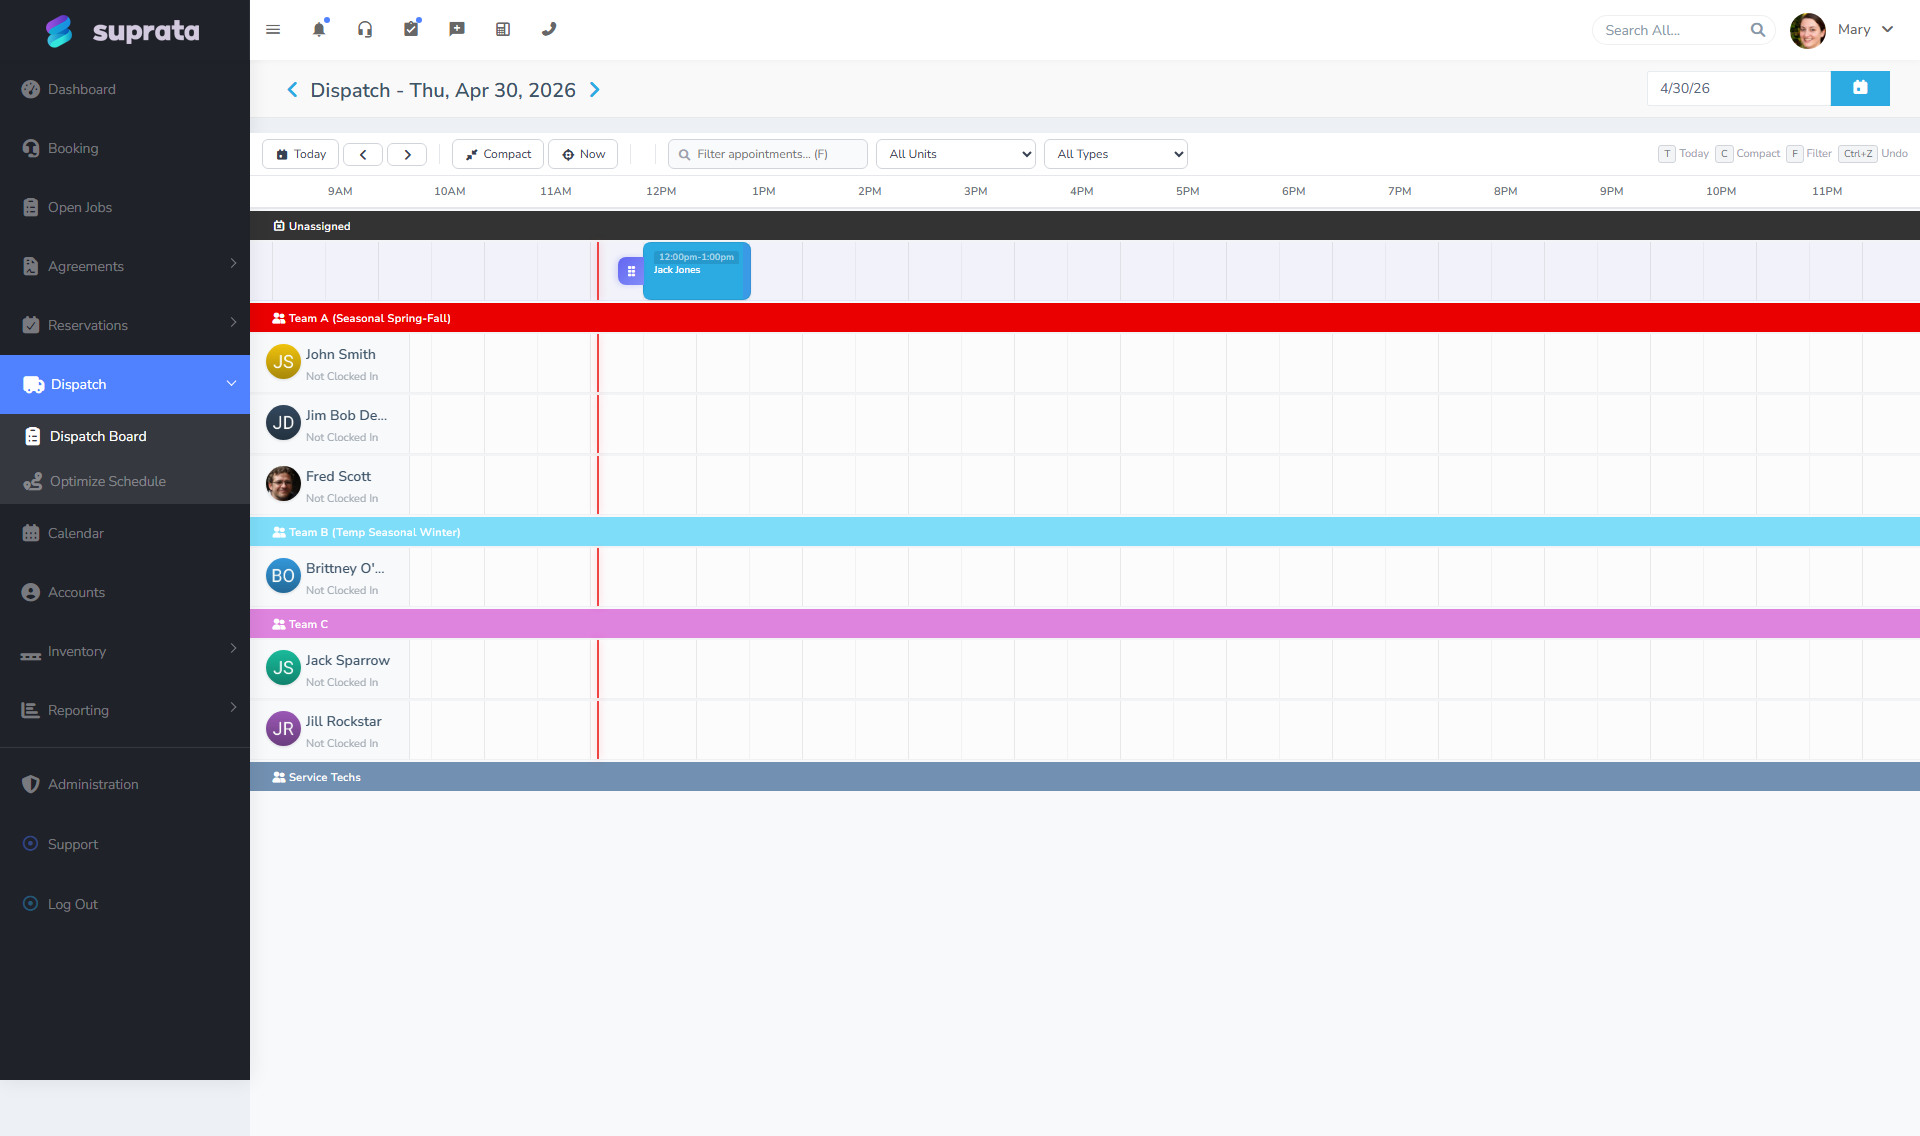
Step 3: Day of — "tech on the way" SMS
When the tech leaves for the appointment (a status change on the dispatch board), an SMS fires: "Your technician is on the way and should arrive at approximately [ETA]."
This is the message that matters most. Even with a confirmed appointment, customers spend the day wondering if today is really the day — and the on-the-way text resolves that question in one sentence. With GPS enabled, the ETA can be a real window rather than just "today."
One decision to make: should this fire when dispatch sends the tech, or only when the tech actually leaves the previous job? Firing on dispatch is simpler. Firing on actual departure is more accurate but only works if your techs are good about marking their status. Pick one and train the team to it.
Step 4: Job complete — invoice email
When the job is closed, an email goes out with the invoice attached (or, better, a link to view and pay it online). It's the same email any invoice gets — the only difference is that it goes out automatically when the job closes, not as a manual action.
The default template works. What to customize:
- A "thank you" sentence at the top. Not "Thank you for your business" — that's the generic line. "Thanks for having us out today; here's your invoice."
- A clear pay-now button if you've connected a payment processor. A fresh invoice email gets paid much more often than the same invoice chased up a week later.
- A short note about next steps if relevant. "If you have any questions about this work, just reply to this email."
For SMTP setup and template editing, see Setting up email (SMTP) and Customizing the invoice email template.
Step 5: Payment received — receipt email
When a payment is taken (online via Stripe, in-office, ACH, an applied credit), a receipt email fires. This is separate from the invoice email — a receipt confirms a payment, not a bill.
The receipt is the easiest message in the chain to get right. It should:
- Confirm the amount paid and the method.
- Reference the invoice number.
- Include any line items.
- Thank the customer.
What you don't need to include: an attached copy of the invoice (they already have it), a pitch for other services (this isn't a marketing email), or anything that leaves the customer wondering whether the payment actually went through. A receipt has one job: be unambiguous proof.
Step 6: 24-72 hours after job — review request
The last step is asking for a review. Most businesses get this wrong in one of two ways:
- They ask too soon — minutes after the job, before the customer has had any time to form an opinion. The work hasn't been "tested" yet, and the message comes across as pushy.
- They never ask at all — assuming customers will leave reviews on their own. Almost none do. The customers who would have written a glowing review never get the chance.
The default cadence is 24 to 72 hours. That window is the sweet spot:
- The work has had a day to prove itself.
- The visit is still fresh in the customer's mind.
- The next service call hasn't displaced the memory.
When the customer clicks the review link, they're taken to your Google Business Profile review form — the rating and the words they leave go directly to Google. What Suprata tracks on its side:
- Whether the request was sent.
- Whether the customer clicked the link.
That gives you a per-customer view of who you've asked, without Suprata trying to be a copy of Google's review database.
The review request can point to whichever platform you use (Google Business Profile, Yelp, Facebook, etc.) — the destination URL is set on the review-request template.
How to customize the chain
The whole chain is built on three pieces you can adjust:
- Templates for what each message says — email subject and body, SMS body. Each step has its own template, and templates use merge tokens (customer name, appointment time, address, total) so they read as personal without anyone having to type each one by hand.
- Cadence for when each step fires — how many days or hours before or after, and which event sets it off (job created, dispatch sent, status change, payment captured).
- Channel rules for which step uses which channel — some businesses don't text at all, some text only for time-sensitive steps, some text everything.
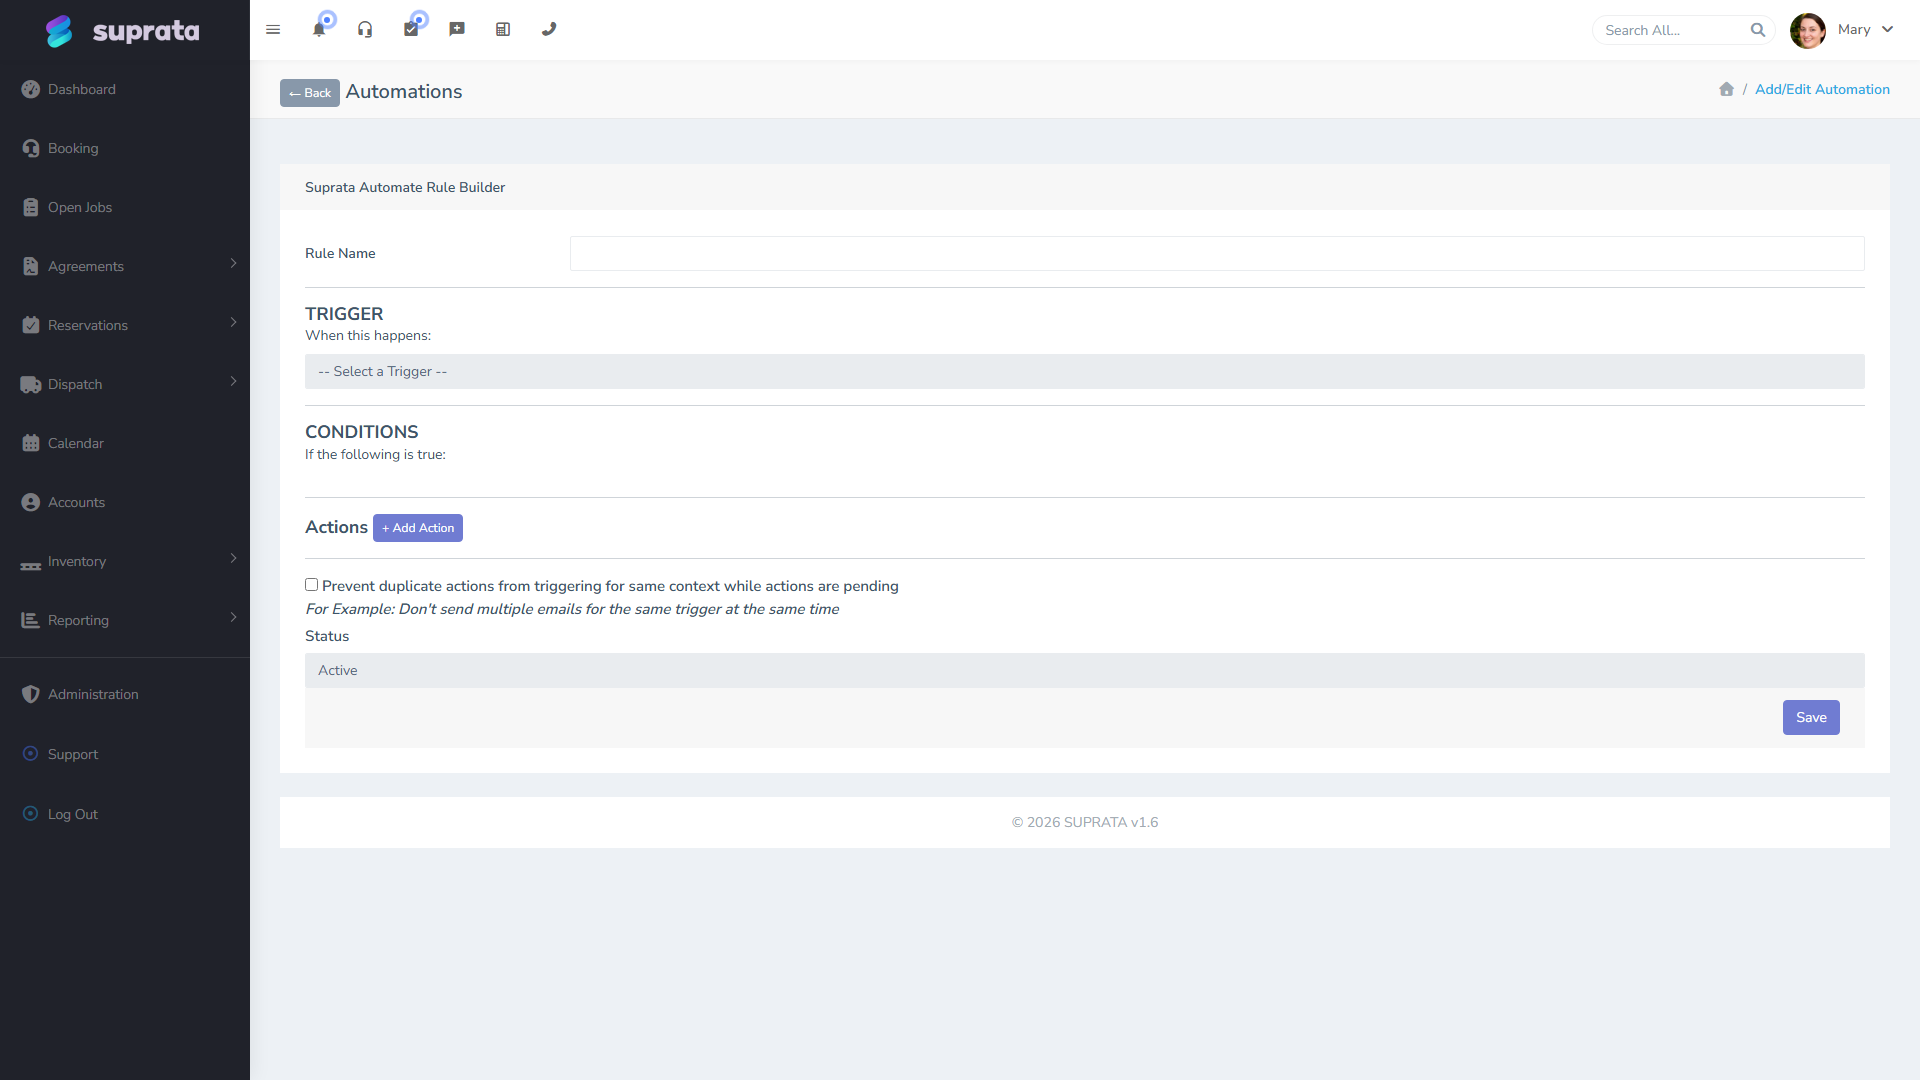
The automation engine is what stitches the steps together — each message is sent by an automation triggered by an event in the system. You can edit the existing automations, copy them, or build new ones (a follow-up two weeks after a sale, a winter-prep reminder six months after an install). The editor lets you pick triggers and actions from menus; you don't have to write any code.
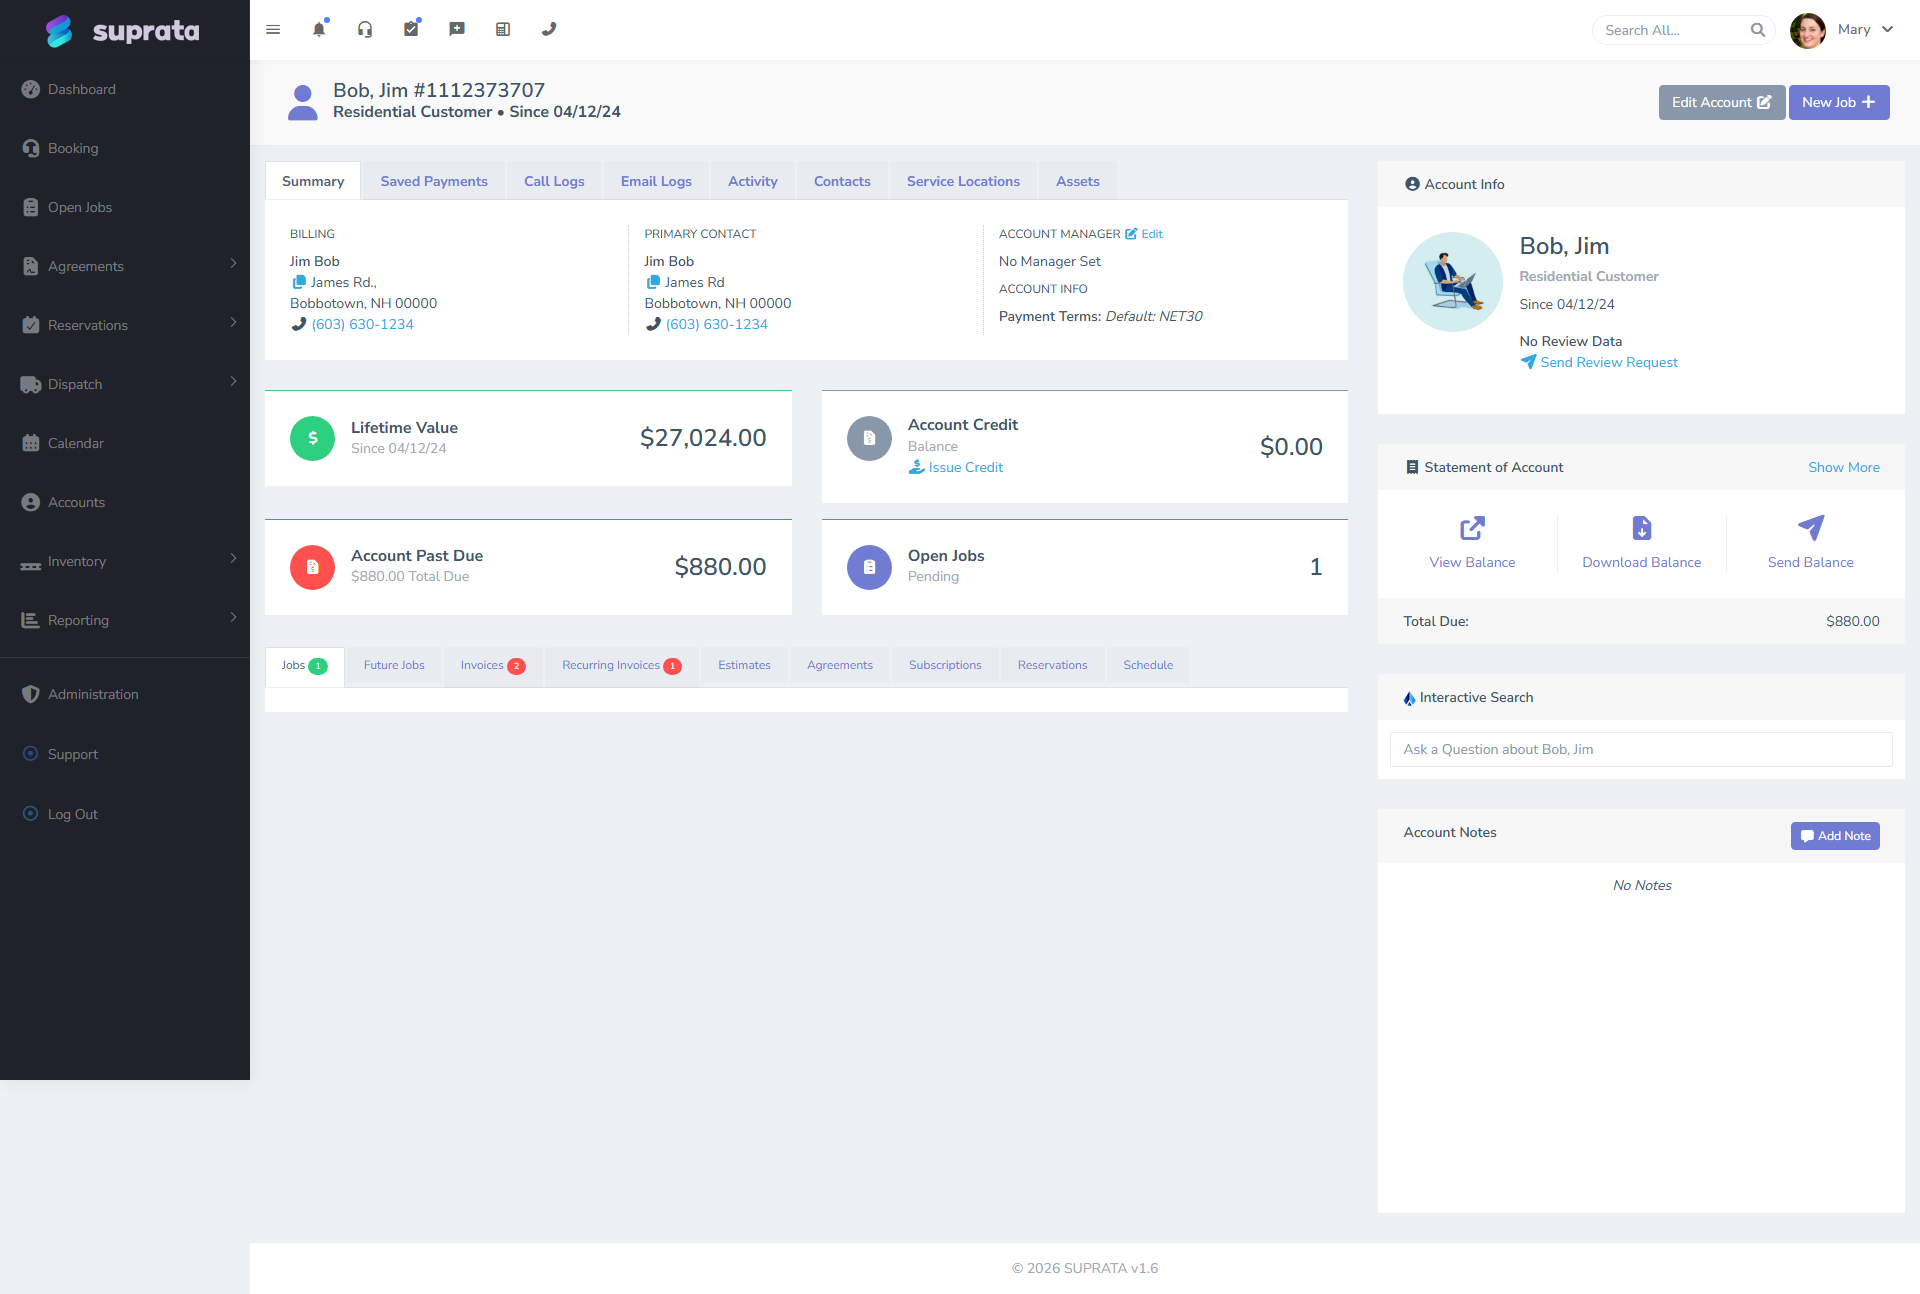
One practical thing to know: the customer's account record shows every message you've sent them, with status (sent, delivered, opened where trackable, replied). When a customer says "I never got the email," that's where you check — sometimes they did get it and missed it, sometimes the address bounced, sometimes the message never went out. The log tells you which.
Tone, channel, and frequency — the things to actually decide
Beyond the defaults, there are three calls only you can make:
- Tone. Friendly-professional? Strictly formal? Casual? The defaults sit in the middle. Pick a tone and apply it across all the templates so the chain feels consistent.
- Channel rules. A reasonable default: use email for records (anything the customer might need to keep) and SMS for prompts (anything they need to act on now). A confirmation is both — send both. A reminder is just a prompt — text only. A receipt is just a record — email only.
- Frequency. Every extra message is a chance to annoy. Six messages around an appointment is on the high side. Trim if your customers skew older or more rural; add if your customers are younger and digital-native, where they expect more touchpoints.
Opt-out matters too. Customers should always be able to text STOP and click unsubscribe in any email — and those choices should be respected everywhere. The defaults handle this; custom messages sometimes don't.
Common breakdowns
- Confirmation messages don't go out because you didn't capture an email or a phone number. Most often this happens at account creation. Fix: require email when you create an account; require phone too if you plan to text. If those fields are optional, they'll stay empty.
- SMS reminders blocked because the number wasn't a mobile. Twilio refuses to text landlines. Fix: validate the number when you take it down, not at send time.
- "Tech on the way" message fires before the tech actually leaves. It's set to fire on dispatch instead of on departure. Fix: either change the trigger to a later status, or train techs to mark dispatch only when they're actually rolling.
- Invoice email goes out before the invoice is finalized. Someone auto-closes a job, the invoice is generated, the email goes out — and then the job gets reopened and the customer is confused. Fix: don't auto-close jobs that aren't really done. Or delay the email send by a few minutes after invoice close, giving you a window to catch the mistake.
- Review requests go to customers who shouldn't get them. A customer with an unresolved complaint gets a "rate us!" prompt. Fix: skip the review request for jobs flagged as recalls or complaints.
- Templates still have generic system text. Six months in, you realize every customer has been getting "Dear Customer, your invoice is attached." Fix: review your templates during week one of go-live, and again at month three. Don't assume the defaults are good enough.
- Email is landing in spam. Without SPF, DKIM, and DMARC on your sending domain, deliverability is a coin flip. Fix: set up those records before you send anything important. See Email deliverability — fixing 'going to spam' issues.