Sending an invoice to a customer
Sending an invoice is one of the most common actions in Suprata, and one of the easiest to do badly. The mechanics are a single click — but the supporting setup (which theme, which terms, which email template, which contact gets it) decides whether the customer opens it, understands it, and pays it without follow-up.
This article covers the full send flow plus the upstream choices that make it land cleanly the first time.
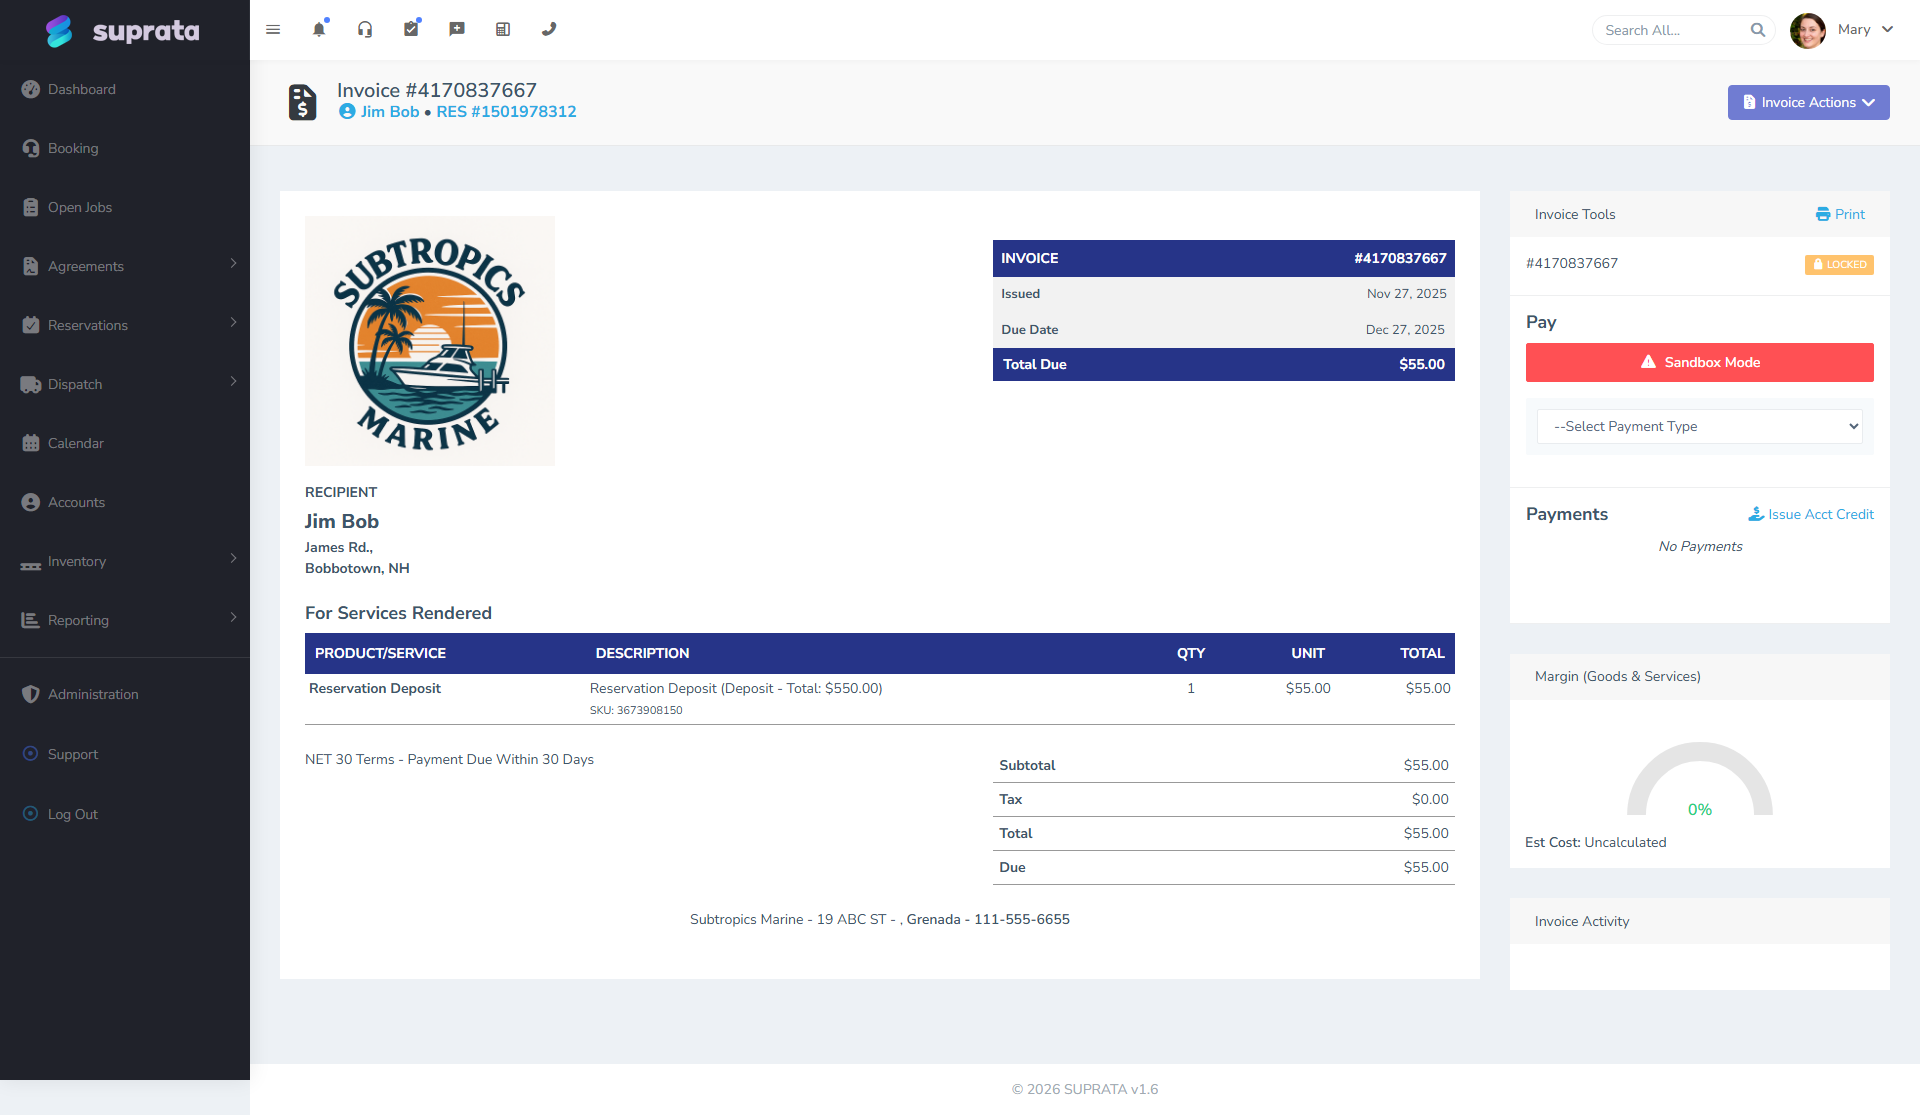
That's what an invoice looks like just before you click Send. The right sidebar's Invoice Tools panel is where the Send Invoice action lives (under the Invoice Actions dropdown at the top). Customer info, line items, tax, and totals are all already assembled — your job is mainly to glance at it and click.
When you'd send an invoice
- A job is complete and you're billing for it.
- An estimate was approved and converted; now the work is done.
- A recurring invoice cycled and a new bill was generated.
- You're following up on a previously-sent invoice that didn't get paid (a re-send, often with a "past due" theme variant).
What sending actually does
When you click Send Invoice, here's what the system does:
- Builds a PDF of the invoice using the assigned theme.
- Picks the email template — usually the one tagged "Invoice Send" — and fills in the customer's name, the invoice number, the total, and the other personalized fields.
- Picks the recipient(s) — based on the customer's primary contact email, plus any contact tagged to receive invoices.
- Sends the email through your outbound email setup.
- Logs the send in the invoice's history so you can prove it went out.
- Includes a public payment link — the customer can click through to view the invoice and pay online without logging in.
- Marks the invoice "Sent" if it was still in Draft.
You'll see the result on the invoice's timeline within seconds: "Invoice sent to john@acme.com at 2:14 p.m."
Setting up before your first send
Three things need to be right before sending will work well.
1. SMTP configured
Sidebar: Communication Settings → Email Configuration. You need a working outbound SMTP setup — host, port, username, password, encryption. Send a test email to yourself to confirm. This article assumes that's done; if not, see Setting up email (SMTP) (forthcoming).
2. An invoice theme that fits your brand
Sidebar: Financial Settings → Invoice Themes. Each theme controls the layout, color, and overall look of the invoice PDF.

The defaults shipped with the system include "Standard Layout", "Modern Minimal", "Professional Bold", and "OVERDUE" (used when re-sending past-due notices — note the red color). Pick the one that matches your brand voice and set it as the default for new invoices.
You can also have multiple themes for different situations:
- A standard theme for normal invoices.
- A "Past Due" theme (red header, more urgent copy) used for re-sends.
- A "Receipt" theme used for paid-immediately invoices that look more like a receipt.
- A "Project" theme with extra space for descriptions on long, complex bills.
3. The invoice email template
Sidebar: Communication Settings → Email Templates. Find the template named "Invoice Send" (or similar) and customize it. The defaults are functional but generic — at minimum:
- Make the subject line specific: "Invoice INV-{number} from {your business} — ${total}" beats "Your invoice".
- Make the body short and friendly. The PDF carries the detail; the email body is just a hand-off note.
- Make sure the "Pay Online" link is visible and prominent — that's how most customers will pay.
- Match the email's tone to your brand voice. A folksy small business sounds different than a buttoned-up commercial outfit.
The send flow — step by step
For a routine send:
- Open the invoice — from the dispatch board, the account dashboard, or the invoice list.
- Confirm the line items, totals, and the assigned customer. Yes, the system already shows them, but it's worth a 5-second sanity check: is the bill addressed to the right Account? Are the totals what you expected?
- Pick the theme if it's not already the right default — switch via the theme dropdown on the invoice header.
- Pick the terms if it's not already the right default — Net 30, Due on Receipt, etc. The terms text appears at the bottom of the invoice.
- Click Send Invoice. A modal pops up confirming the recipient(s) and letting you adjust the message body for this one send if needed.
- Confirm and send. Watch for the "Sent" confirmation in the timeline.
If the customer's primary contact has an email on file, the send works without you specifying anything. If they don't, you'll be prompted to either add an email or pick another contact.
Choosing who gets the invoice
By default the invoice goes to the Account's primary contact's email. This is usually right for residential customers (one email, one bill). For commercial customers, the primary contact (often the decision-maker) isn't always the right person to bill.
The fix: tag a different contact as the "Receives Invoices" contact. The send-invoice flow will route to whoever has that tag. You can also CC additional people — useful when an AP department wants to be looped in even though the contact is one specific person.
If you have a one-time exception ("just this invoice, send it to a different email"), you can override the recipient in the send modal without changing the customer record.
Re-sending and follow-ups
If a customer hasn't paid by the due date, you have a few options:
- Re-send the same invoice — same theme, same template. Sometimes it just got buried in their inbox.
- Re-send with a "Past Due" theme — switch the theme, then send. The visual cue alone often nudges payment.
- Send via a different channel — many businesses pair email with an SMS reminder ("Hi, just a heads-up your invoice INV-1234 is past due — link to pay: [...]"). Set up SMS templates the same way you set up email ones.
- Phone call — sometimes the most effective for accounts that are 30+ days overdue.
The system tracks every re-send in the invoice timeline. Three sends with no payment is a useful signal that the customer needs personal outreach, not another email.
Common mistakes
- Sending before reviewing. "Send" feels low-stakes because the system is fast, but a wrong-amount or wrong-customer invoice creates real cleanup. Take 5 seconds to skim before clicking.
- Sending from your own personal email instead of through the system. Then you don't get the audit trail, the customer can't pay through the link, and you're not building any history of when the invoice went out.
- Not customizing the email template. The default reads like a system notification. Customers respond more reliably to a message that sounds like a person wrote it.
- Burying the payment link. If your template has 200 words of legal disclosure before the "Pay Now" button, the button might as well not exist. Put it near the top.
- Using only one theme for everything. A past-due reminder that looks identical to the original invoice doesn't signal urgency. Match the theme to the situation.
- Sending invoices for $0 amounts. Sometimes a job ends with everything covered by credits or a service-agreement allotment. Don't send a $0 invoice — it confuses customers. Mark the job as completed-but-no-bill, or use a credit memo.
- Forgetting to confirm the email actually delivered. Most SMTP setups will silently fail if a recipient bounces. Periodically check the email logs (under Communication Settings → Sent Emails or similar) to catch bounces before the customer complains.
What happens after the send
Once the invoice is sent and the customer pays:
- The customer clicks the link in the email and lands on a public invoice view.
- They click "Pay Now" and enter card or ACH info (using the connected payment processor — Stripe, USIO, etc.).
- The processor charges, the system records the payment against the invoice, and the customer gets a receipt email.
- The invoice's status flips to Paid.
- If you're synced to QuickBooks, the invoice and the payment both push to QB.
You don't have to do anything in step 3-5; it all happens on its own. Your only job after sending is to deal with the exceptions — bounced emails, payment failures, "I lost the link, can you re-send?".
Related articles
- Estimates vs. invoices
- How tax categories work
- Customizing the invoice email template (forthcoming)
- Setting up email (SMTP) (forthcoming)
- Connecting Stripe (forthcoming)