Setting Up Suprata for a Service Business
You run service trucks. Customers call, your dispatcher schedules, your tech goes out, parts get used, an invoice gets generated, the customer pays, you go home. That core loop is what most of Suprata was designed to handle, and the setup is faster than you'd expect.
This guide is for HVAC, plumbing, electrical, general handyman, and similar service businesses. If you're more equipment-rental or asset-rental focused, read Setting up Suprata for a marina or the campground guide instead.
Before you start
You need:
- A list of your services and their pricing. Even loosely — diagnostic fee, hourly rate, common installs.
- A roster of your technicians and office staff. Names, emails, what they're allowed to do.
- Tax info. What rate, on what (labor vs. parts), and any tax-exempt customers.
- Your QuickBooks credentials if you use QB. Connect it day one.
A small service business (one or two trucks, one office staff member) can get to first invoice in 2–3 days of focused work. A larger one (5+ techs, multiple business units, complex pricing) takes a week.

Day 1 — Identity, people, basics
Company settings
Set company name, address, phone, timezone, and main email. Timezone matters — change it now or every date in the system reads wrong forever.
Add your team
Each tech and office staff member gets a user account. Don't share. Pay attention to roles:
- Admin — sees everything, configures.
- Dispatch — assigns jobs, manages calendar, can't change pricing or run reports.
- Tech — sees their own jobs, can update job status and add notes, can clock in/out.
Custom roles exist if you need them (e.g., "Office Manager" who can see reports but not configure settings) — but start with the defaults for your first week.
Job types
Define your job types. Typical service business:
- Service Call — diagnostic visits, generally fixed fee + parts/labor.
- Maintenance Visit — agreement tune-ups.
- New Install — major equipment installation.
- Estimate Visit — sales-quote visits, sometimes free, sometimes paid against future job.
- Warranty Repair — equipment under warranty.
- Recall — return visit on previous work.
Job types matter because they control which industry forms attach (HVAC eval form on HVAC service calls, etc.) and they're how you'll filter reports later.
Job statuses
Review the seeded statuses (New, Scheduled, In Progress, Complete, Cancelled). Most service businesses don't need to add anything for the first month. If you do — common additions are "Awaiting Parts" and "Quoted — Pending Approval" — keep the total list under eight.
Day 2 — Pricelist and tax
Tax setup
This is the most-skipped, most-painful-to-fix-later step. If you bill tax in one jurisdiction at one rate on everything, the default works — verify it. If you bill differently on labor vs. parts (common in many states), set up separate tax categories now.
See How tax categories work for the full treatment.
Price list
Add your common items:
- Labor categories: standard hourly rate, overtime rate, after-hours rate, weekend rate.
- Diagnostic fee (often $89–$129).
- Common parts: filters, capacitors, contactors, fittings, breakers — whatever your trade hits weekly.
- Common services: tune-up, freon recharge, drain clearing, breaker replacement.
Don't try to enter your full inventory on day one. Get the top 30–50 items in. Add the rest as you encounter them.

Day 3 — Operations
Set up your first job end-to-end
Pick a real customer (or yourself). Walk through:
- Create the account (residential).
- Create a contact on the account.
- Create a job — service call type.
- Schedule an appointment for the job.
- View the job in dispatch.
- Open the job, add line items (labor + parts).
- Generate an invoice from the job.
- Send the invoice (to your own email).
- Pay the invoice (test transaction).
Whatever bothers you here will bother your real customers. Fix it.
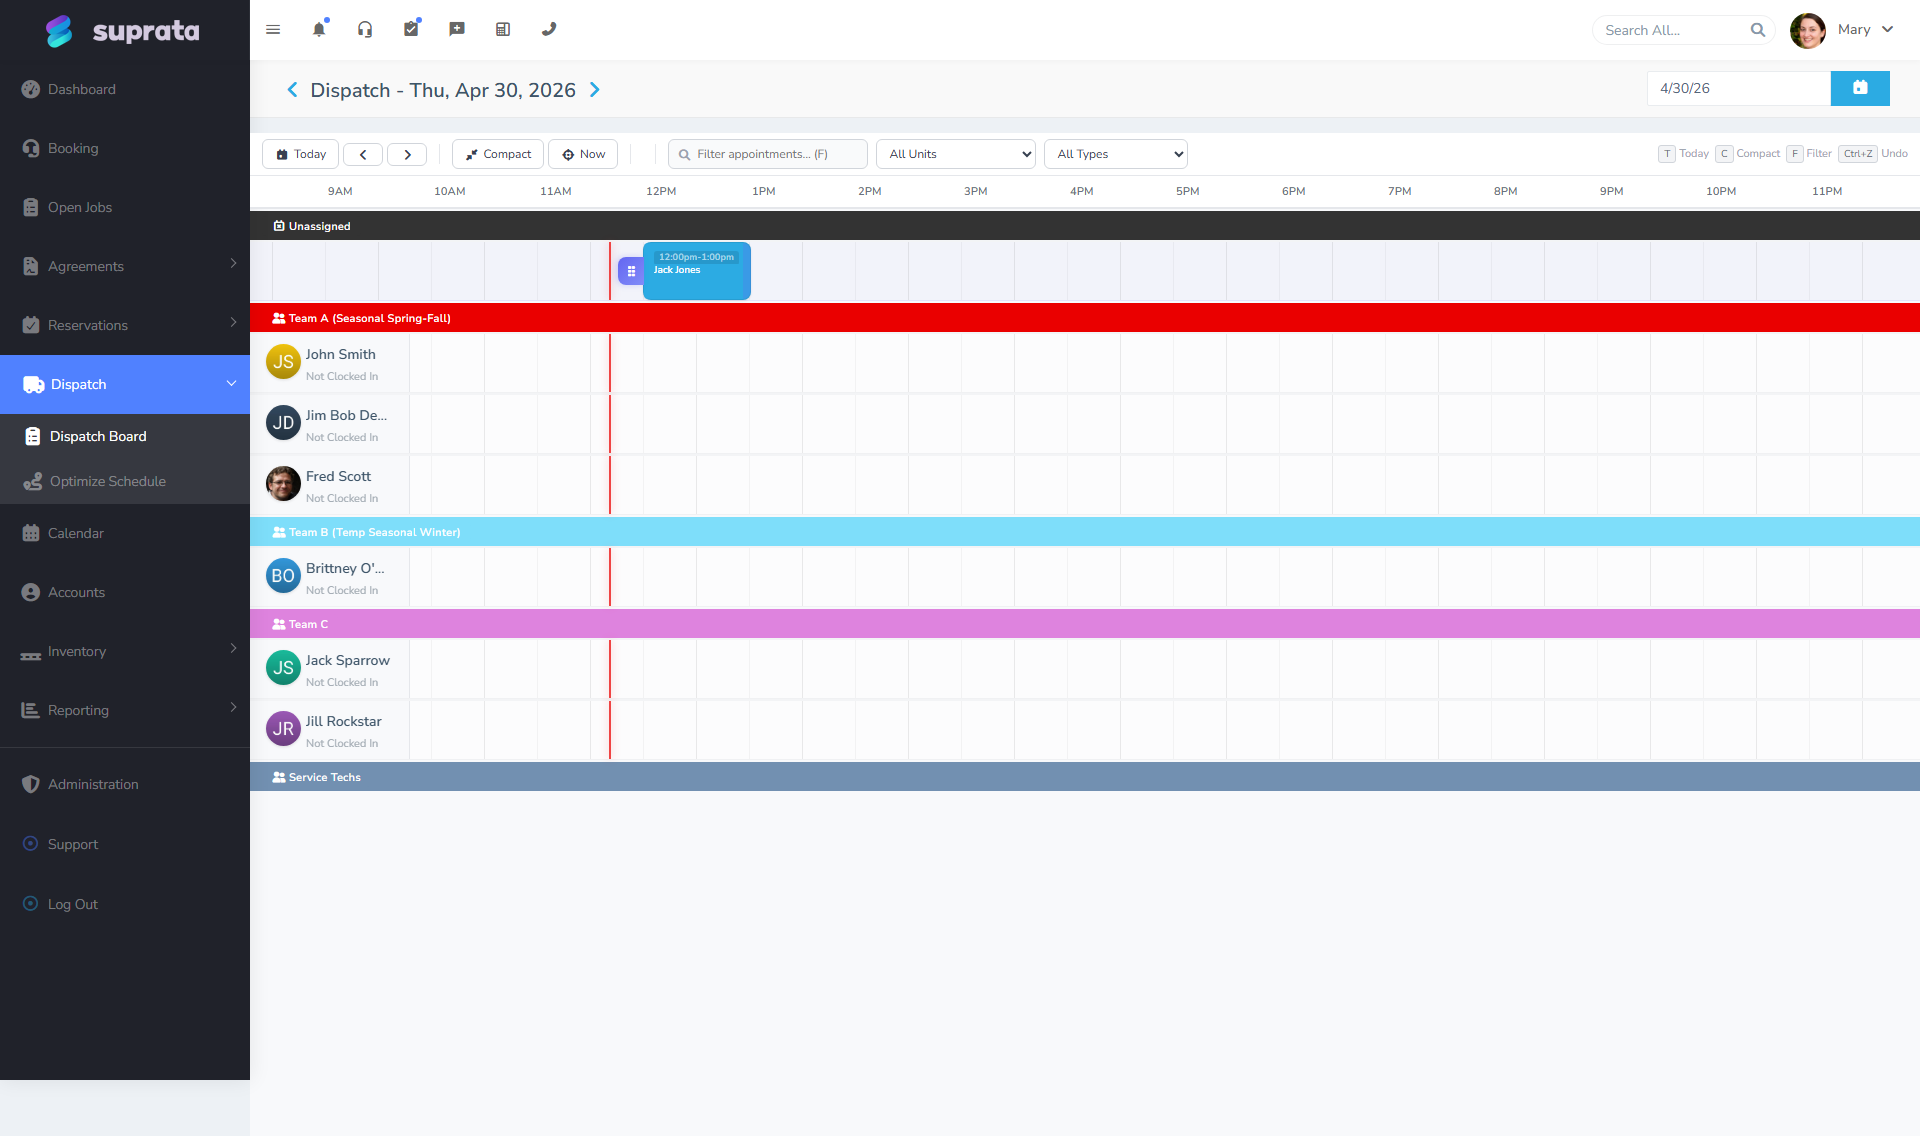
Configure dispatch
The dispatch board is where your day starts. Set the views your dispatcher needs — by tech, by date, by status. If you have multiple service areas, configure business units so dispatchers can filter.
Calendar and tech assignment
Each tech sees their own calendar by default. Personal-only view exists for the tech-on-truck use case. Larger ops use the dispatch board on a big monitor in the office, plus mobile per-tech.

Day 4 — Communications
Email and SMS
Connect SMTP and IMAP for outbound + inbound email. Connect Twilio if you do SMS.
Customize the templates that customers actually see:
- Appointment confirmation (sent when job scheduled).
- Day-of reminder (sent morning of appointment).
- Invoice email (sent when invoice goes out).
- Payment receipt.
Generic defaults are functional but feel bland. Even small personalization — your phone number, a friendly tone, your tagline — helps customers feel like they're working with a real business.
"On the way" notifications
If you have GPS routing set up, configure the "tech is on the way" SMS. Customers love these — they know to be at home, the tech doesn't waste a trip.
Day 5 — Agreements (if you sell maintenance contracts)
Service agreement templates
If you sell maintenance plans (residential HVAC tune-ups, generator service contracts, pool service, etc.), build a template:
- Define the schedule (twice a year, quarterly, monthly).
- List the included items (tune-up, parts discount, priority scheduling).
- Set the contract length (one year is most common).
- Configure billing (paid up-front, or monthly).
- Set the termination clause.
A typical residential HVAC maintenance plan template:
- Length: 1 year.
- Schedule: 2 visits (May, October).
- Items included: Spring AC tune-up, Fall heating tune-up.
- Price: $189 paid at activation.
- Renewal: auto-renew with 30-day notice option.
Once the template is built, activate it on a customer in seconds. The schedule will auto-create the visits.

If you're not sure whether to use a service agreement, subscription, or recurring invoice, see Subscriptions vs. service agreements vs. recurring invoices.
Subscriptions (membership plans)
Some service businesses sell "club membership" — a monthly fee for priority access without scheduled visits. Those are subscriptions, not service agreements. Build the template separately if you're doing this.
Day 6 — QuickBooks and payments
Connect QuickBooks Online
If you use QB, connect it. Run the QB setup wizard. Walk through one full invoice cycle before letting real data flow:
- Create an invoice in Suprata for a test customer.
- Wait for QB sync (or trigger manually).
- Confirm the invoice appeared in QB correctly.
- Pay the invoice in Suprata.
- Confirm the payment appeared in QB and reconciled.
Read QuickBooks prerequisites before connecting if your chart of accounts is complex.
Connect Stripe (or USIO)
Connect your payment processor. Take a $1 test charge through the system. Refund it. Confirm the refund went through both Suprata and the processor.
Don't enable autopay or saved-card workflows until you've done at least one manual charge end-to-end.
Day 7 — Test, train, go live
Run a full real-world dry run:
- Office takes a call from a "customer" (you or a colleague).
- Dispatcher schedules.
- Tech goes (or pretends to) and works the job.
- Tech adds line items via mobile.
- Office reviews the invoice.
- Customer pays through the link in the email.
- Reconcile in QB.
Whatever's broken, fix it. Then go live.
What you can defer
- Custom industry forms beyond the seeded ones (HVAC, plumbing, etc.). Use what's seeded; build customs only when a real gap emerges.
- GPS routing — connect to a route optimizer once you have enough call volume to make the math worth it (usually 5+ techs).
- AI search and AI assist — useful but pointless on an empty database. Wait until you have data.
- Custom dashboards — defaults work fine for the first month. Customize once you know what you actually look at daily.
- Time clock for techs — set up if your techs are hourly. If they're salaried or 1099, skip.
- Reservations subsystem — totally irrelevant unless you also rent something.
Common mistakes
Skipping tax setup. Fixing this on a year of historical invoices is brutal.
Sharing user accounts. Every action is audited per-user. Shared accounts make audit trails meaningless and you can't fire one rogue tech without changing the whole password.
Building too many job types. Twelve job types you can't remember the difference between is worse than four good ones.
Trying to import historical customers and jobs on day one. Get the system working with fresh data first. Bring history in once you trust the live flow.
Setting up automation before manual processes work. Automate the right things later. Auto-emailing every customer with broken templates on day one creates a fire to put out.
Not connecting QuickBooks for "later". The longer you wait, the more invoices you have to manually reconcile when you finally connect. Connect it day one — even if you don't fully understand QB yet, the sync runs and your accountant cleans it up.
Not training the dispatcher properly. The dispatcher is the system's heaviest user; if they don't understand the job lifecycle, your data goes sideways. Spend an extra hour with whoever's running dispatch.