Setting up the public waitlist
If your service or rental business runs near full capacity for any meaningful stretch of the year — a booked-solid weekend, a peak season, a popular asset — you'll have customers calling or visiting your website and finding nothing available. Most of them won't keep checking back; they'll call somebody else.
A public waitlist gives them a way to stay in line. Instead of a "sorry, we're full" dead end, they get on a list. When something opens up, you reach out, they take it (or pass), and you've kept a customer you'd otherwise have lost.
This article covers when a waitlist makes sense, what to put on the public-facing form, and how to keep the list from becoming a mess your team can't keep up with.
When you'd use this
- You operate a campground, marina, RV park, or other reservable-asset business where peak-season demand exceeds what you have available. This is the most common reason to run a waitlist.
- You run a service business with a backlog — an HVAC shop in mid-July, a tree-service company after a storm — and you want an organized way to capture the overflow rather than juggling voicemails and sticky notes.
- You have a popular offering that books out in advance — a specific rental package, a specialty service, a particular technician.
- You want a list of interested customers to work in your slower season. The waitlist gives you names to reach out to once you have availability again.
A waitlist is not the right tool for general lead capture (that's just a contact form), or for scheduling appointments where you have plenty of openings (just put booking on the website).
How it fits together
There are four pieces:
- A list. A named waitlist, like "Memorial Day Weekend Slips" or "August A/C Service." You can run more than one at the same time.
- A public form. What the customer fills out to get on the list. You decide what fields to ask for on each list.
- The list itself. Entries arrive in the order they sign up. Your staff works through them.
- The staff view. Where you see entries, contact people, and either offer them a spot or close them out. See Managing waitlist entries.
Every entry gets attached to a customer record. If the person has never done business with you before, signing up adds them to your customer list (or matches them to an existing record by email). So by the time they're fifth in line, you already have their contact info on file.

Building a list — the typical workflow
1. Decide what the list is for
Before clicking anything, write down in a sentence what this list is for. Not "waitlist" but "waitlist for our 30-amp full-hookup sites during the July 4th weekend." Being specific here makes every later decision easier: what fields to ask for, who handles the list, what the confirmation email says.
A good list has a clear scope, a clear timeframe, and one staff member responsible for it. Avoid catch-all "any availability whatsoever" lists — they fill up with entries you can't act on, and people stop trusting that being on the list means anything.
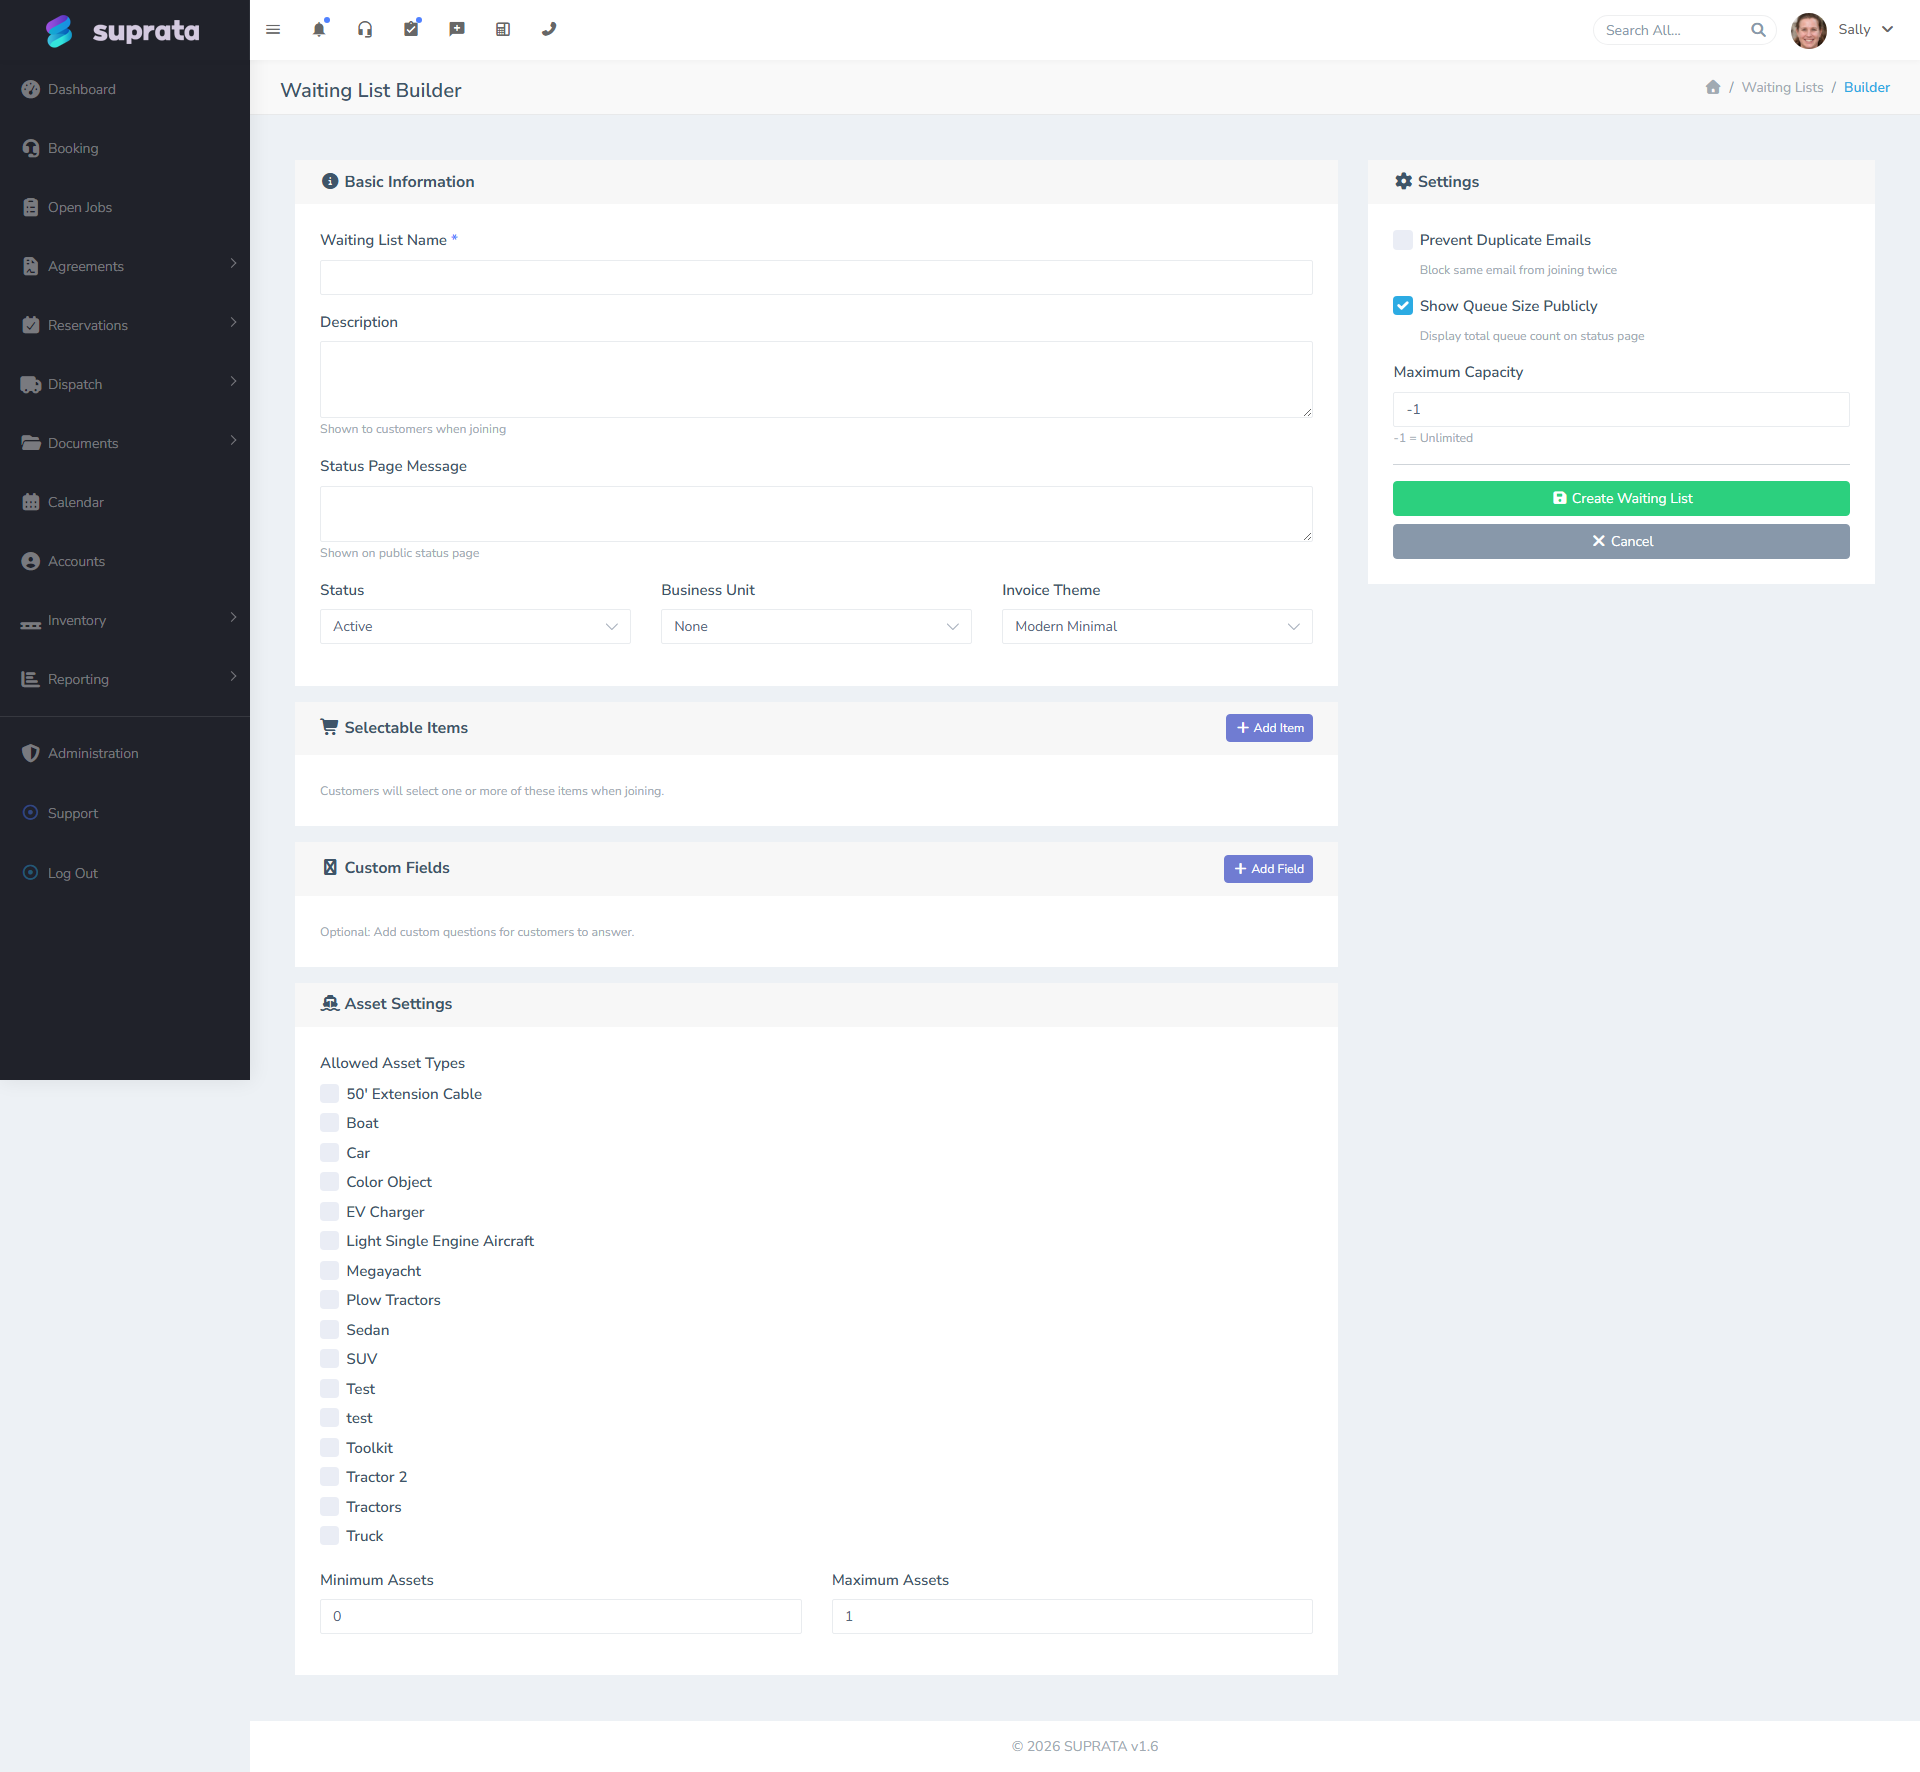
2. Open the waitlist builder and create a new list
The list builder is where you name the list, pick what it's a waitlist for, and choose the fields the form will ask for.
3. Choose the fields the public sees
Keep the form short. Every extra field is one more reason for a customer to give up and close the page. Aim for something that fits on one phone screen.
Always ask for:
- Name. First and last. (Optional: company.)
- Email. This is your main way to contact them, and it's how the system recognizes returning customers.
- Phone. A text message is the fastest way to tell them a spot opened up.
- What they want. Word it per list — "preferred dates", "site type", "service needed". Pre-fill a sensible default if you can.
Ask for these only if they apply:
- Party size / group count. If you book by number of people.
- Equipment / RV / boat dimensions. If those affect what spot will fit them.
- Flexibility. A simple "Are you flexible on dates?" checkbox lets staff offer a customer a spot that isn't exactly what they asked for.
- Notes. A short open-text field where they can add anything you didn't ask about. Keep it short — a giant text box invites essays you don't have time to read.
Don't ask for:
- Mailing address (unless you genuinely need it for service area reasons). People won't fill it out, and you'll lose entries.
- Date of birth. Not needed to put someone on a waitlist, and asking for it makes people uncomfortable.
- Payment info. A waitlist is not a reservation. Don't take money at sign-up. If you want a deposit, take it when you actually offer the customer a real spot.
4. Pick a verification mode
Anyone can sign up — no login required. To cut down on bad emails and junk sign-ups:
- Email verification. A "click the link in your email to confirm" step before the entry actually counts. Catches typos and weeds out fake sign-ups. Recommended for any public list.
- No verification. Faster sign-up, more junk in the list. Only use this if you're going to call every entry anyway and don't mind doing the cleanup.
5. Set up the messages the customer sees
After someone signs up:
- Confirmation page. A short thank-you message that tells them what happens next. Be honest: "We'll reach out as soon as something opens up. You're number 7 on the list right now." People appreciate knowing where they stand.
- Confirmation email. Same message, sent to their inbox so they have a record.
- The "a spot is open" email. This is the most important message in the whole flow. It's what they'll actually read when their turn comes. You can customize it per list.
6. Publish the list and link to it
Each list has its own public web address. Put a link to it on your website wherever you have a "we're booked" or "sold out" message. You can also embed the form directly on your own site so customers never leave — see Embedding the waitlist on your website.
Field design — practical tips for the public form
A few practical tips for the form itself:
- Keep it to one column. Most customers will fill it out on a phone, and two-column forms get awkward on narrow screens.
- Mark required fields with a red asterisk so people know what they have to fill in before submitting.
- Label the submit button "Join the waitlist" — it tells the customer exactly what's about to happen. "Submit" is vague.
- Add a placeholder to the phone field like
(555) 123-4567so people enter the number in a consistent format. - Set sensible date limits on date pickers. Don't let someone accidentally request "May 30, 1973" or "May 30, 3024." Set a reasonable min and max.
- Add a one-line privacy note under the form: "We'll only use this to contact you about your spot — we don't share or sell your info."
Common mistakes
- Asking for too much information. Long forms scare people off. Strip out everything that isn't truly needed to evaluate their request.
- Vague list names. Customers see the list name when they sign up. "Site Waitlist" tells them nothing. "Memorial Weekend RV Sites — May 22–26" tells them exactly what they're signing up for.
- No end date on the list. Last year's "August Spots" list is still up, collecting entries for a weekend that already happened. Set lists to close themselves automatically once their date has passed, or close them manually.
- Skipping email verification. A list full of typo'd email addresses is worse than no list — you can't reach the people you most want to reach.
- Treating the waitlist like a marketing list. People signed up to hear about availability, not to get a monthly newsletter. Sending them unrelated marketing trains them to ignore your emails — including the one that says "your spot is ready."
- Promising a specific position as a guarantee. "You're #3 in line" sounds reassuring but may not be true — you might call #5 first because they're more flexible on dates. Word it honestly: "We've got your sign-up. We'll reach out as soon as we have a match."
- Building one giant catch-all list. It's much easier to work several small, focused lists than one giant one. A catch-all can't be sorted, prioritized, or closed cleanly.
After the list is live
- Keep an eye on entries for the first few days. Are people filling out the fields you expected? Are entries coming in clean?
- If you notice lots of partial sign-ups (people who started but didn't finish), the form is probably asking for too much. Trim it.
- Read Managing waitlist entries to learn the daily rhythm of working the list.
- If a list is seasonal (peak season comes back next year), don't delete it — close it for now and reopen it next cycle. That keeps history attached to the same list.
Related articles
- Managing waitlist entries
- Embedding the waitlist on your website
- The reservations system overview
- The booking wizard walkthrough